Creating Spreadsheets Using Zapier — And Sending Them To Datadeck
Summary: For data sources, we don’t currently support, use Zapier to automatically gather the data into a Google Spreadsheet that Datadeck can access.
If you need data from a data source which we don’t currently support, try using Zapier to gather the data into a Google Spreadsheet automatically. Datadeck can access it from there.
1. After signing up for a free account at Zapier.com, you will see this page:
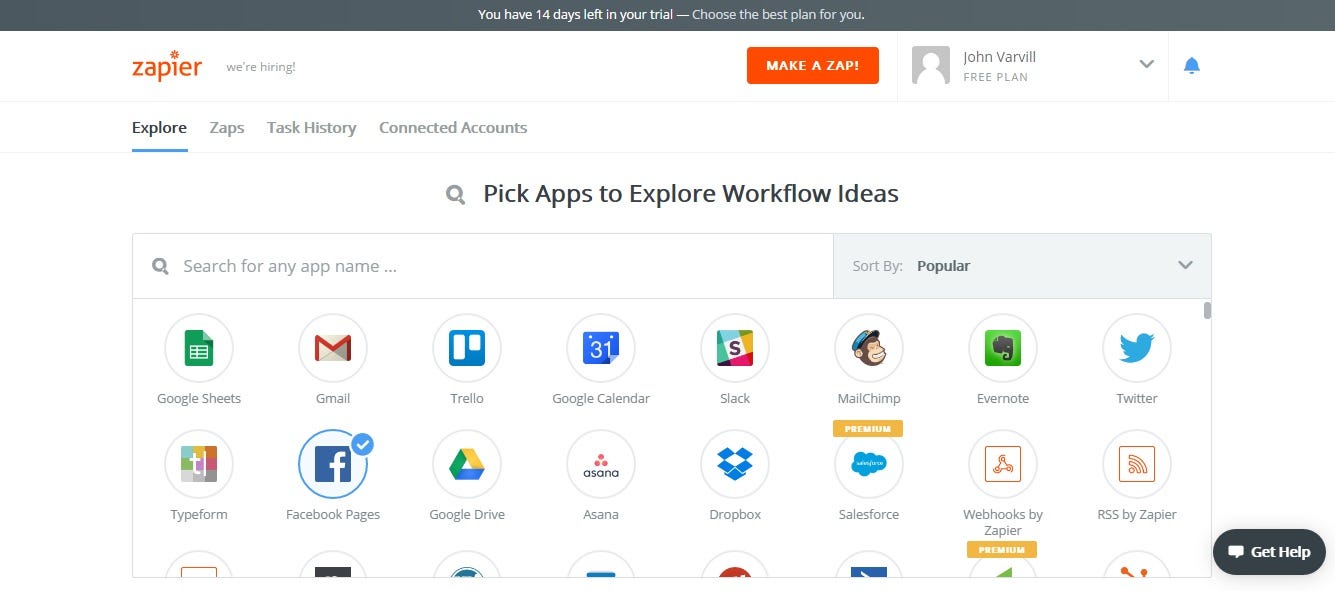
2. Scroll down to the appropriate app-to-spreadsheet icon and click
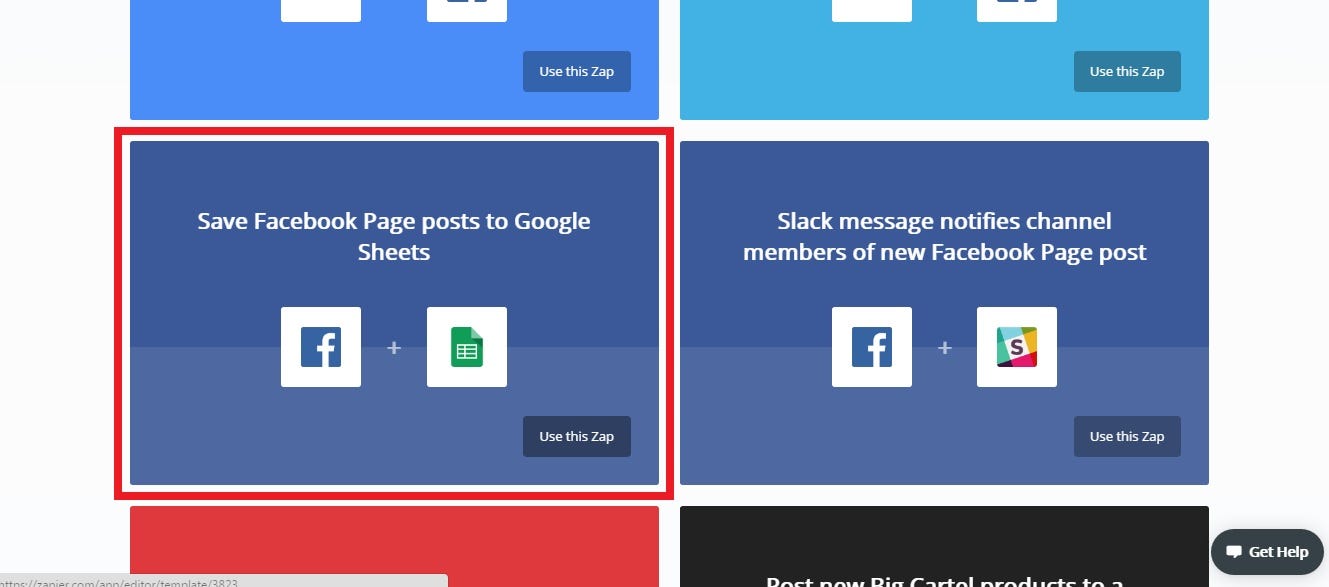
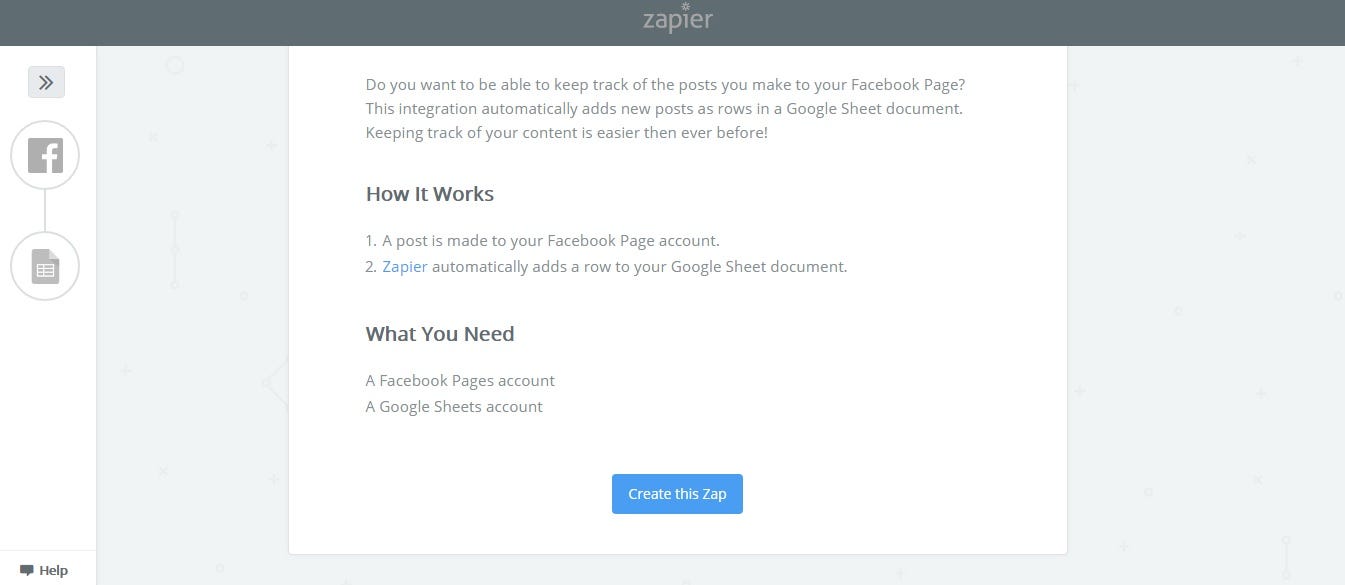
3. Click “Create This Zap”
4. Continue through to connect your app
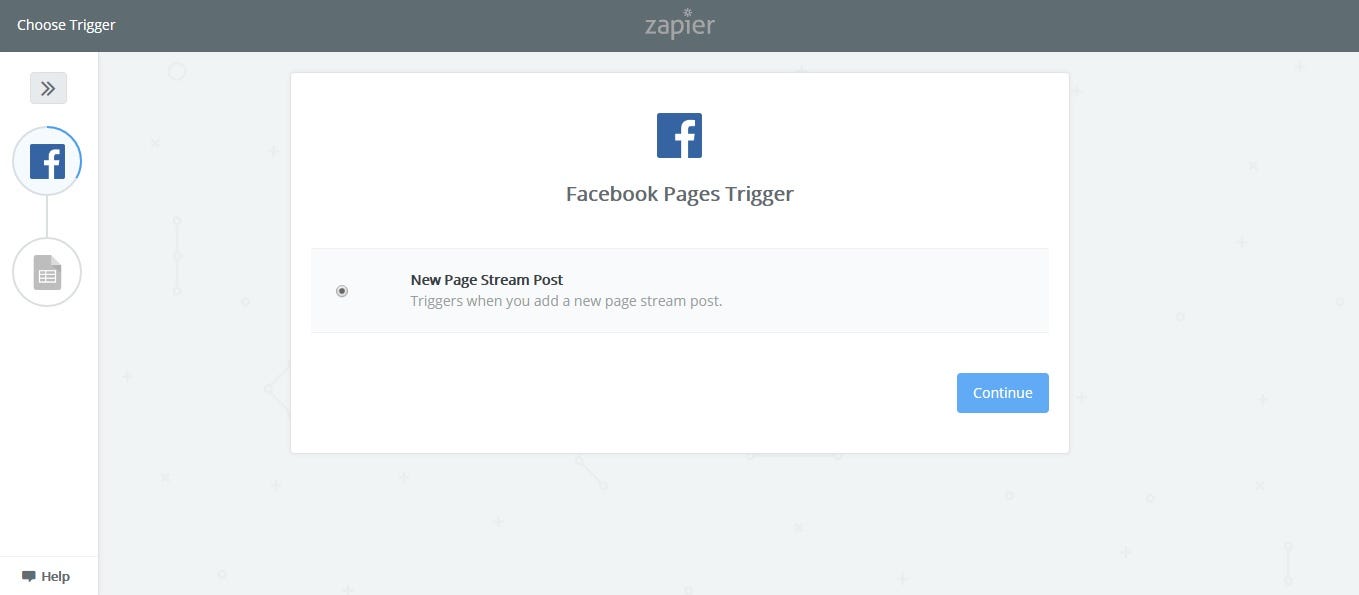
5. Follow prompts for any specific data in the app (For Facebook, you will need to select appropriate pages)
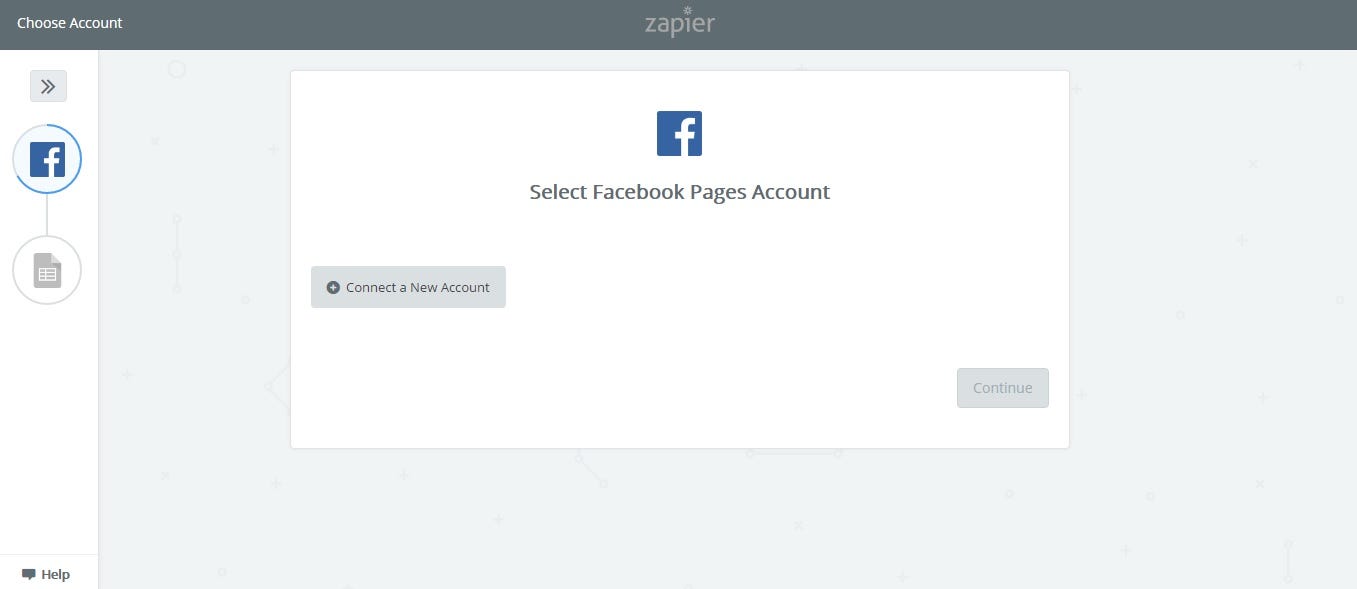
6. Authorize Zapier’s permissions.
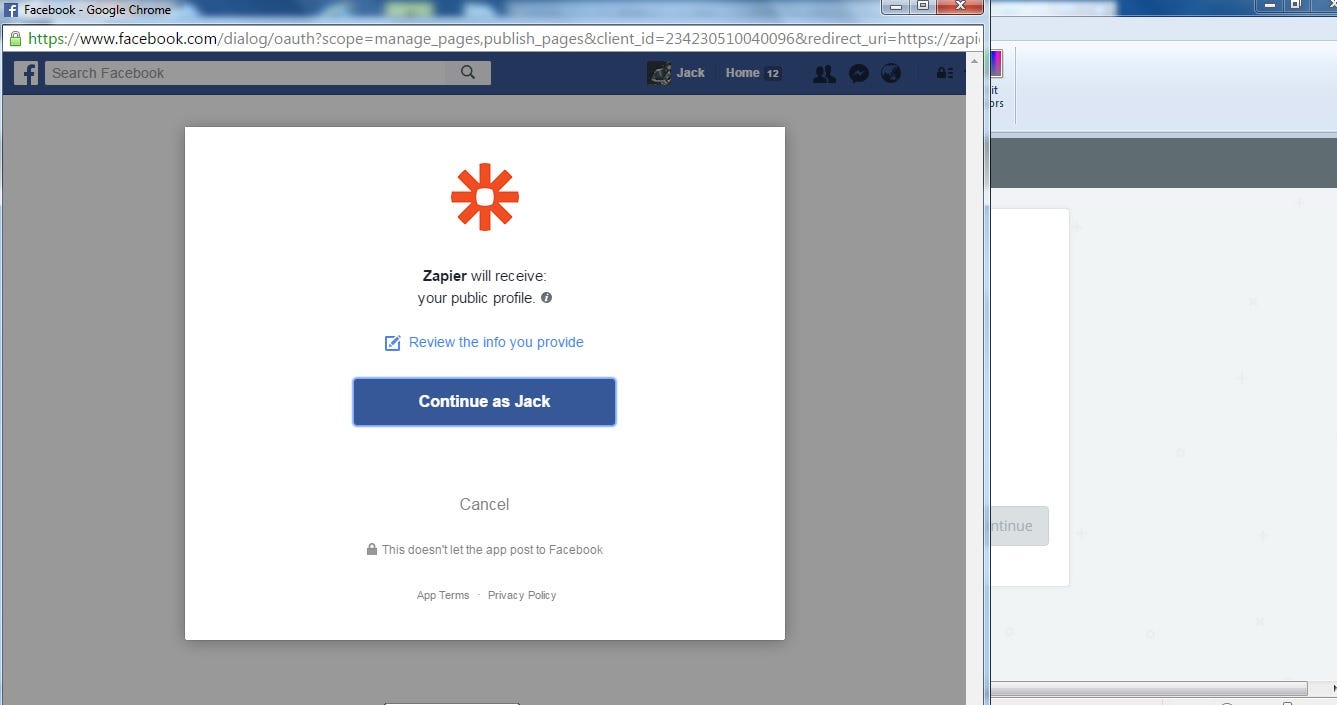
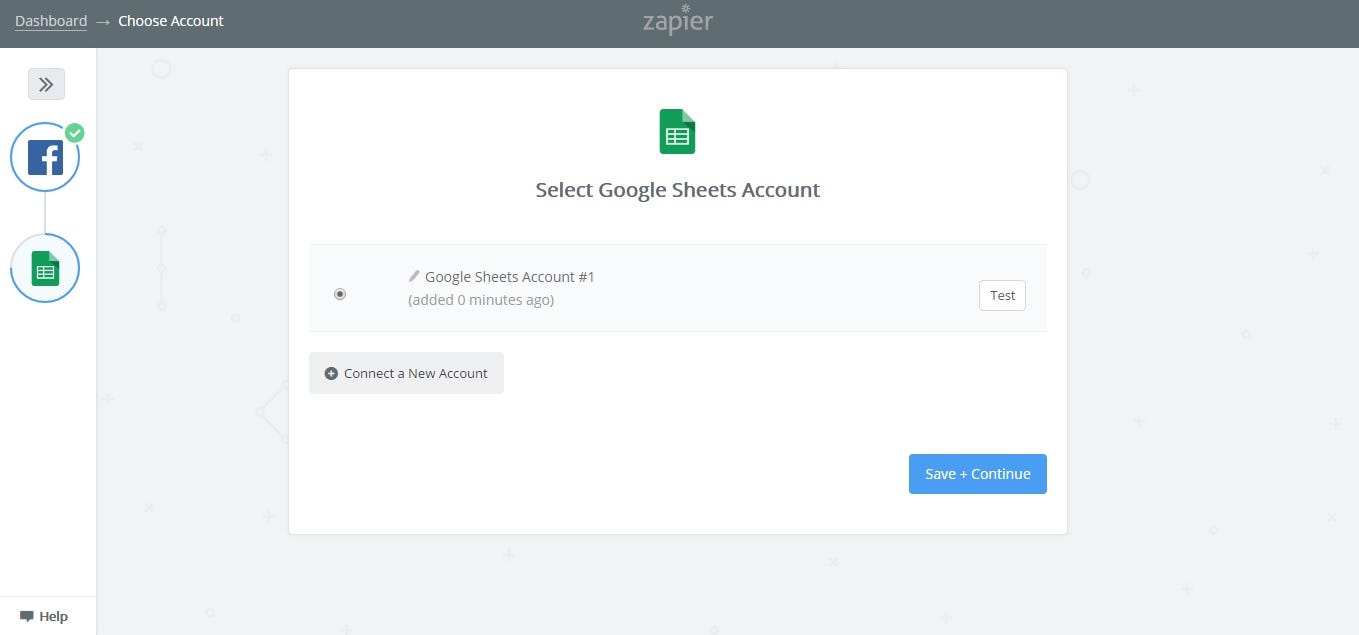
7. Your account will now be visible and connected. Click “Save + Continue”
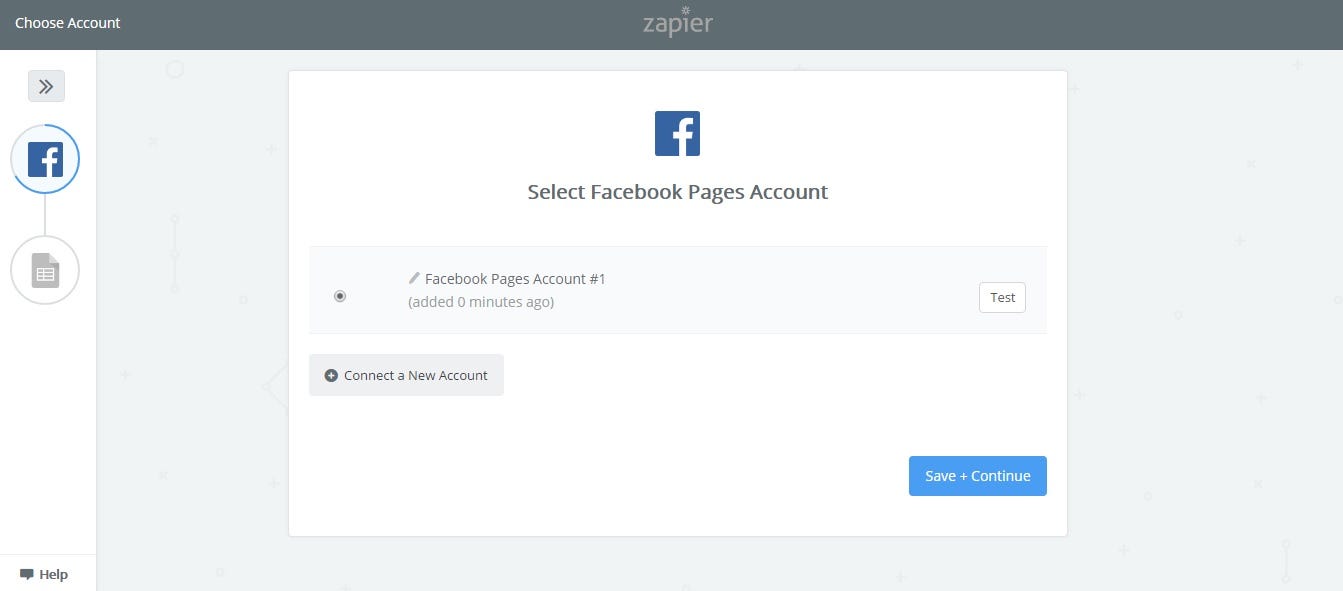
8. Now you will begin creating the spreadsheet.
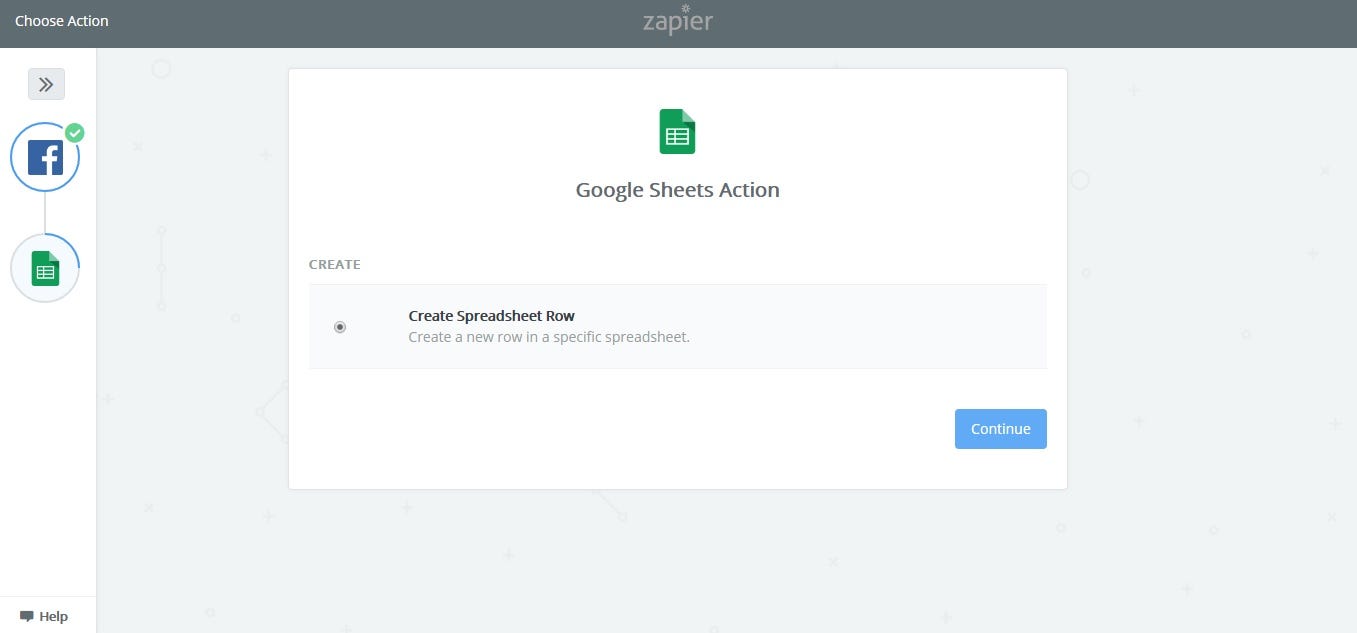
9. Read instructions and click “Continue.”
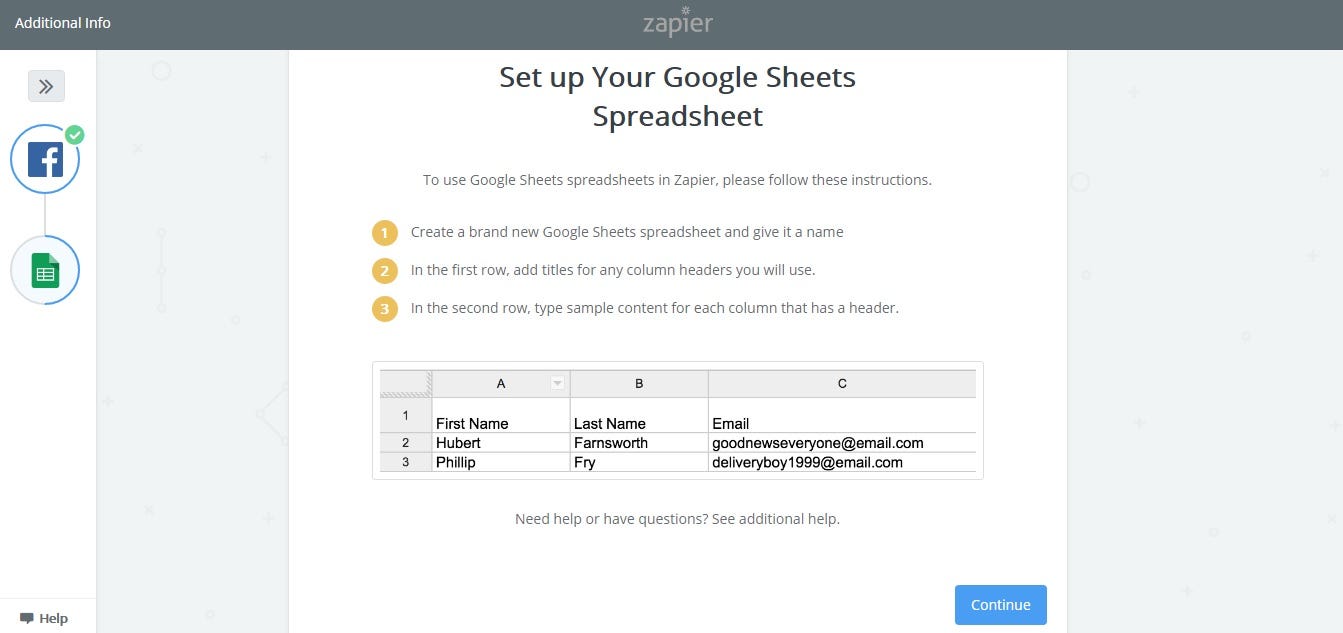
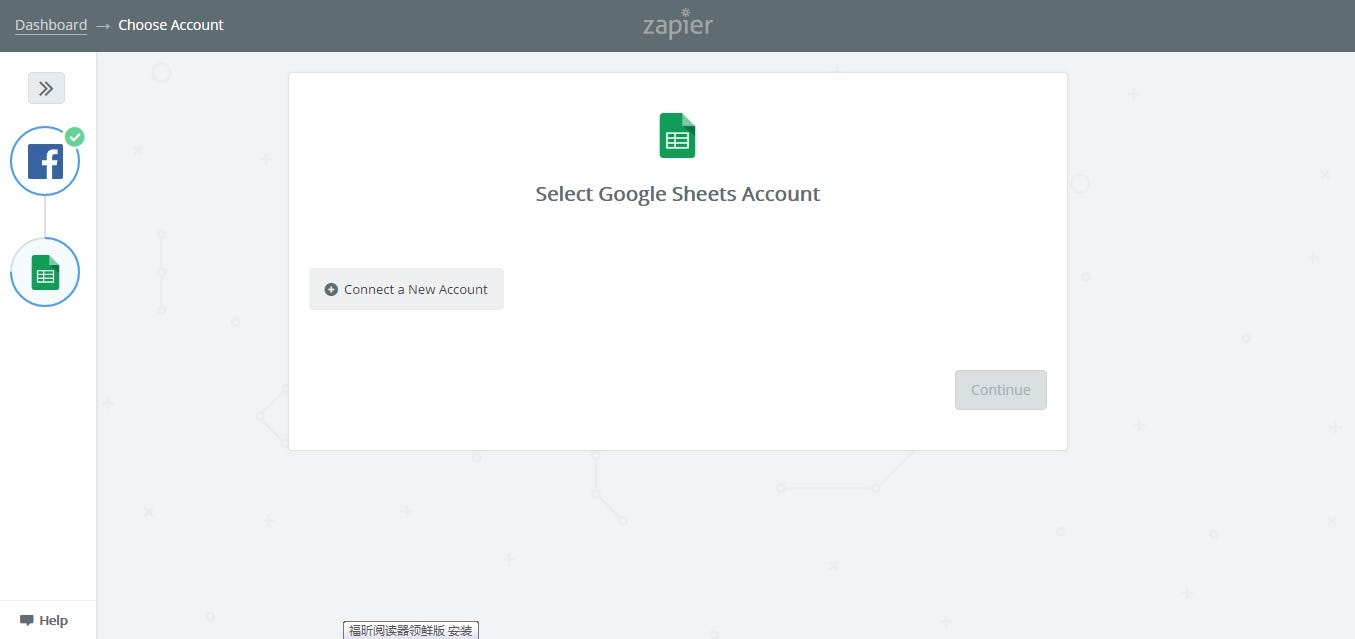
10. Connect a Google Sheets account and create a spreadsheet within that account.
11. Your Google Sheets account will now be linked.
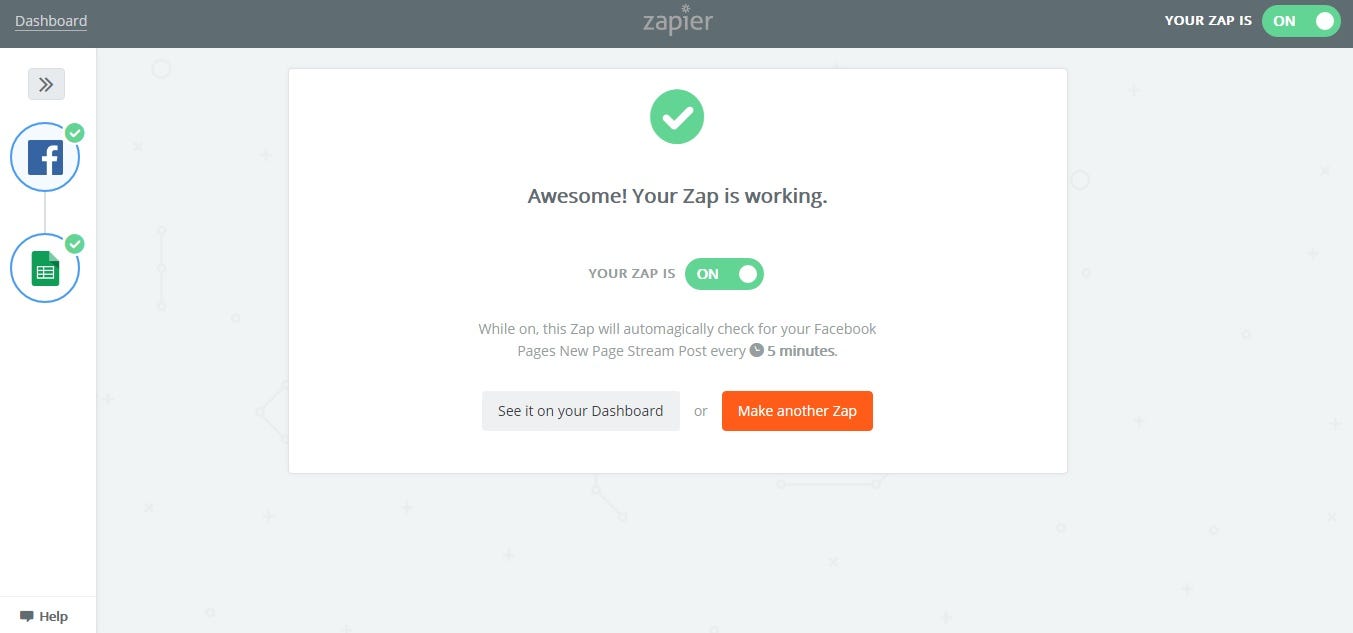
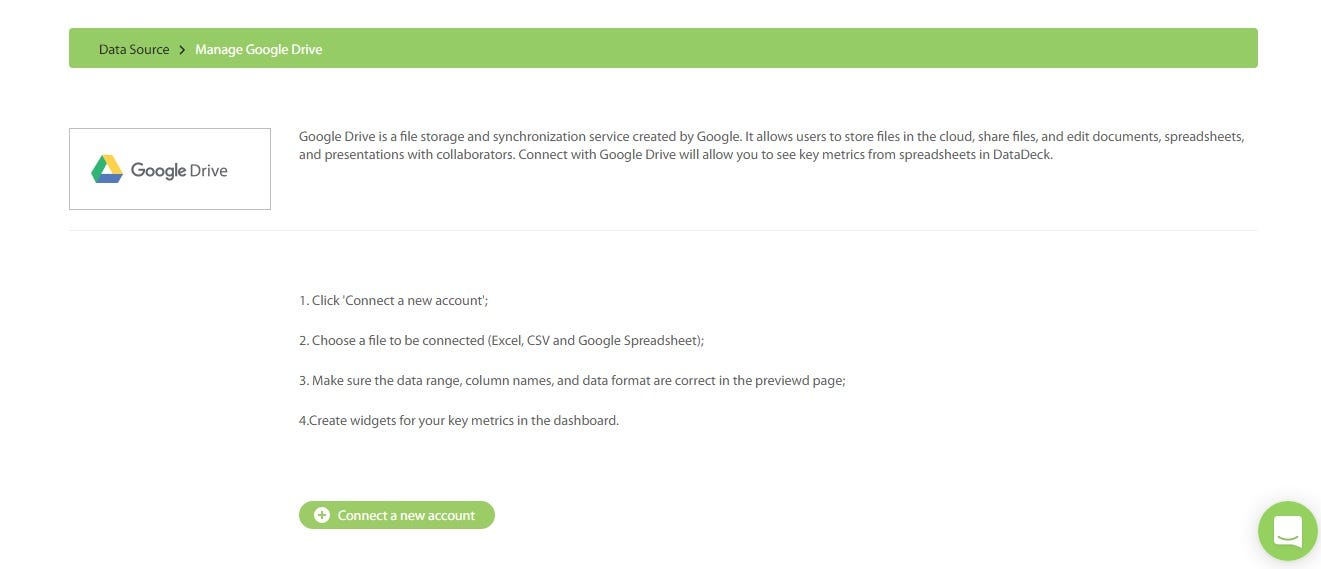
12. If you have set up your spreadsheet correctly, your Zap will now be working. The data that is being compiled in your spreadsheet can be sent to DataDeck by clicking the “Data Source” tab at the top of your Datadeck.com dashboard. Click the Google Drive icon.
13. Click “Connect a new account.” Now you will be able to select your spreadsheet!
Now sit back and enjoy all the beautiful data, all in one place 😉
If you have any questions or concerns, please reach out to us at support@datadeck.com or use the bottom right-hand tab to send our support desk a message. We look forward to helping you visualize your data.
